Fantastic Design Plant: Autumn Snakeroot

Black is a tone not to be used. Show up in head-to-toe black and you are guaranteed to be taken seriously. Paint your walls dark and people know design is the thing. Same holds for the backyard. While black plants may appear to go against every natural grain, there is nothing more elegant — and complementary. One, Autumn snakeroot, is a striking specimen plant that also elevates and highlights surrounding crops. It may recede into the background but keep only enough panache to add the perfect exclamation point to a planting strategy.

www.KarlGercens.com

Botanical name: Actaea simplex ‘Hillside Black Beauty’ (previously Cimicifuga)

Common names: Bugbane, Fall snakeroot, black cohosh, fairy candles

USDA zones: 3 to 9 (find your zone)

Water condition:Regular; prefers moist, well-drained soil

Sun necessity: Partial shade

Mature size: 3 to 7 feet tall and 3 feet broad

Benefits and tolerances: Flowers attract birds, butterflies and bees; bull and rabbit resistant; salt and seaside tolerant

Seasonal interest: Beautiful foliage; fragrant, showy blossoms in late summer through fall

When to plant: Plant and split it into spring.

www.KarlGercens.com

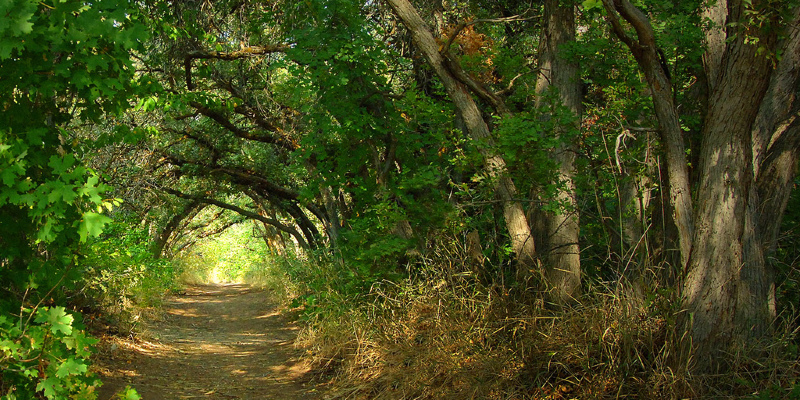
Distinguishing traits. ‘Hillside Black Beauty’ is as dark as they come when it comes to snakeroots. Dark, almost black, magenta foliage is what catches you. The leaves are highly divided and create an airy, understory feel.

Kingsbrae Garden

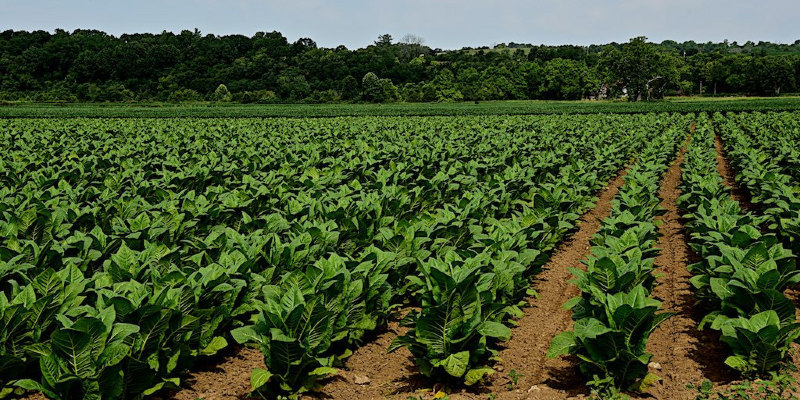
While its foliage occupies the show, do not dismiss its blooms. Early fall brings atop casting stalks, highly ornamental and pink blossoms. They top the leaves like tender wands.

Glenna Partridge Garden Design

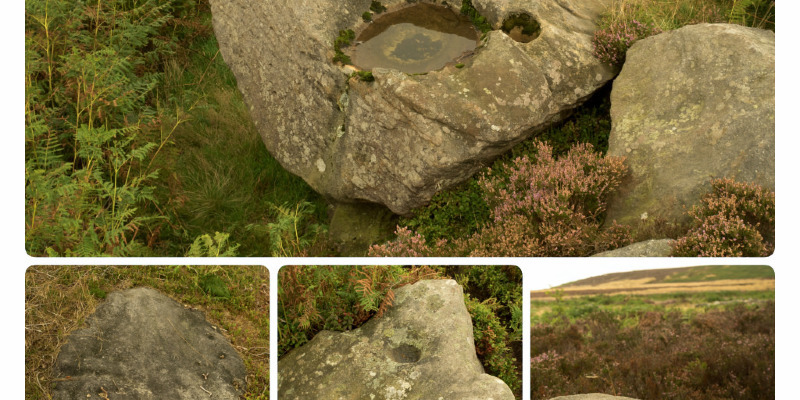
The best way to use it. This plant doesn’t need any preconceived backyard use or design style, yet can make a powerful, sophisticated and individual announcement with it — it’s the perfect Little Black Dress of plants. Its soft texture, form and preferred growing conditions make it a natural addition to any modern woodland garden, a nod to the “brand new perennials” motion.

www.KarlGercens.com

It would, however, be foolish to disregard the color of this plant, because the color is what makes it extraordinary. Pair it with foliage in a fall garden for color and contrast.

Julie

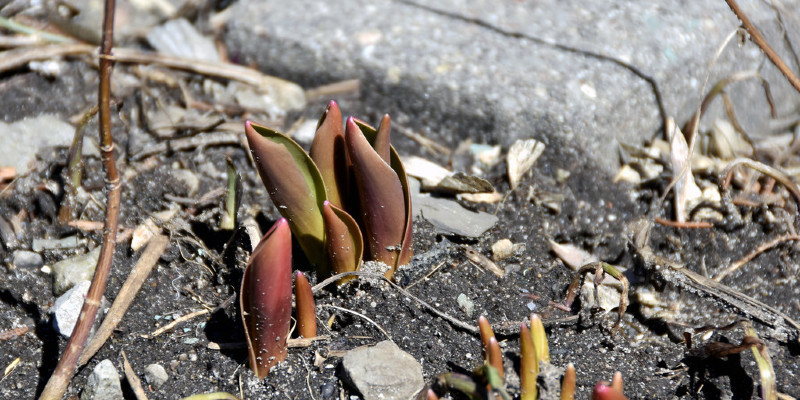
Alternatively, combine it with leaves to get a soft and magnificent tapestry. Here, ‘Hillside Black Beauty’, implanted alongside Astilbe and Eryngium, evokes the colours of autumn.

Planting notes. ‘Hillside Black Beauty’ grows well in a woodland setting, so emulating those conditions will make growing this plant simpler. Site it in partial shade and maintain soil moisture that is consistent. Grow it into well-drained soil that is full of organic material. Although this plant can tolerate full sun in warmer climates, a lot of intense sunlight could scorch and burn the foliage. Search for flowers the next year.

See related

Leaf Size for an October Glory

Growing to 50 feet tall, “October Glory” maple (Acer rubrum “October Glory”) has a curved, oval canopy. “October Glory” maple’s leaves grow 2 to 5 inches long and 3 to 6 inches across. The tree grows in U.S. Department of Agriculture plant hardiness zones 4 through 9.

Leaf Characteristics

The recently emerging leaves of “October Glory” maple are red and turn a medium to dark green on the tops and grayish-green over the undersides as they mature. The leaves have serrated edges, are made from three to five triangular lobes, and grow opposite each other along the branches.

Color Factors

“October Glory” maple’s leaves remain green longer to fall compared to those of other maples. When they do change, in some cases not until after the first frost, the leaves vary in color from yellow and orange to crimson.

See related

How to Use 1-Inch vs. 2-Inch Cedar Wood for Raised Garden Beds

When you’re ready to construct a raised garden bed, cedar is a great selection for prolonging the life of the bed without needing to take care of it with chemicals. Whether you pick 1- or 2-inch thick wood is dependent upon a few things. No matter which you use, remember that 1-inch thick lumber is actually only 3/4-inch thick, while 2-inch lumber is 1 1/2 inches thick. And several of the cedars we use for building outdoor structures aren’t true cedars (Cedrus spp), however, also are part of the cypress family (Cupressaceae).

Strength

When building the sides of the raised bed garden, strength is important. Raised beds are typically 6 inches tall to get blooms and most vegetables, however, the beds to get root vegetables are up to 12 inches tall. Taller beds require more soil and result in more pressure exerted on the sides. When screwed together at the corners, thicker 2-inch wood is stronger than 1-inch, which makes it a better choice for bigger beds. But if you want to keep prices down, you can increase the strength of 1-inch cedar by attaching it into 4-by-4-inch corner articles using 3-inch deck screws.

Durability

Whether you pick 1- or 2-inch cedar boards to build your raised beds, then you want them to last as long as you possibly can. Thicker wood lasts years longer than thinner, and boards made of heartwood last longer than ones made from sapwood. Heartwood comes from the center of the tree and contains additional rot-resistant oils. Sapwood is located just under the bark. It’s softer and decays considerably more quickly than heartwood.

Cost

Cedar is precious for its ability to resist rot and insects strikes, however, its price keeps some people from using it. You can make it even more affordable by lining the interior of the boards using 6-mil black plastic. This keeps moisture off of the boards, when watering, prolonging the life of the raised bed. Don’t run the plastic across the breadth of the bed or you will create drainage issues. But because of the possibility of toxins leaching from the plastic, some gardeners do not consider growing in plastic-lined beds consistent with organic practice.

Forms

Eastern redcedar (Juniperus virginiana) is the most durable of all the cedars. It’s knotty and when left untreated, the heartwood can last 30 years or longer, even when in contact with soil. It resists insect strikes nicely and is the most expensive of the cedar species. It’s native to the eastern United States, where it rises in U.S. Department of Agriculture zones 2 through 9. Western redcedar (Thuja plicata) rises from the Pacific Northwest at USDA zones 6 though 8. It resists rot for 10 to 25 years and is not as immune to pest attacks as eastern red cedar. Northern white cedar (Thuja occidentalis) resists termites and lasts about five to 15 years. It’s often used for making outdoor furniture and rises in USDA zones 2 through 7 at the northeast United States. Cedar sorts are more likely to be available in their native areas and at a more cost-effective price.

See related

Fantastic Lakes Gardener's September Checklist

It is finally September, and also the ideal weather of the season is available for Great Lakes gardeners. With the humidity dropping and the temperature moderating, we have got the ideal environment for outdoor pursuits. Summer garden visitors have started to drift southward in their autumn migration, and many of us are finally feeling like handling those lawn chores we put off during the heat of summer. September is also a excellent time for wildlife viewing — monarch butterflies and hummingbirds may be making pit stops in your backyard. And the landscape is reviving with repeat blooms and the vanguard of fall bloomers. Let’s dig.

Barbara Pintozzi

Feed the birds. Tricyrtis and also our indigenous honeysuckle (Lonicera sempervirens) attract migrating hummingbirds.

After taking the time to enjoy backyard visitors, it is on to getting stuff done in the backyard.

Barbara Pintozzi

Collect leaves. The leaves may begin falling earlier this season because of the drought. Do not offer those leaves off — up them, put them in a pile and make leaf mold. It is a great soil conditioner and the best dressing for woodland plants.

Revive yards. If your yard sports dead spots courtesy of this drought, September is the best time to rejuvenate it by sowing grass seed. From November the yard ought to be lush and green again.

Plant perennials. September is also the ideal time to plant perennials and woody plants. It used to be that spring was the ideal time to plant in Great Lakes gardens, but anglers are finding that using unreliable moisture and often unbearable summer heat, fresh plants do better under the less harsh conditions of fall. By planting in September, the gardener has been guaranteed that the new plants will have enough time to become established before winter.

Barbara Pintozzi

Replace container gardens. It is time to refresh tired, exhausted containers. Here, Petunia ‘Phantom’ blossoms that have a little sedum, ‘Razzleberry’ and a little zinnia. Pansies and pumpkins are also great replacements for exhausted summer annuals.

View 8 knockout blossoms for a fall container garden

Barbara Pintozzi

While cosmetic cabbage is a fall standard, edible cabbage is equally attractive.

Barbara Pintozzi

Enjoy September blossoms. Here come the autumn-blooming plants. With the warmer temperatures, many perennials that played through the heat of summer will enjoy a fresh crop of blossoms in September. Dianthus ‘Cranberry Ice’ faithfully reblooms with its neighbor here, a lavender (Lavandula angustifolia).

Barbara Pintozzi

Roses, such as ‘Carefree Beauty’, and dahlias bring forth ideal blooms after the demise of Japanese beetles for the year.

Barbara Pintozzi

Caryopteris incana ‘Jason’ (Sunshine Blue) is a parasitic magnet in September. Caryopteris x clandonensis ‘Janice’ (Little Miss Sunshine) is similar yet more compact. While Caryopteris is categorized as a die-back tree in zone 5, lots of fantastic Lakes gardeners discover it survives the winter just fine with adequate snow cover. Even if it expires after a winter, from the subsequent September it’ll return and filled with blossoms.

Barbara Pintozzi

When the garden most needs a snapshot of freshness and colour, the asters (Symphyotrichum novae-angliae ‘Honeysong Pink’ and S. laeve ‘Bluebird’) are unfurling their own daisy-like blossoms in vibrant colours. By placing New England asters behind plants that are shorter, you can conceal their nasty legs.

Barbara Pintozzi

Asters aren’t the only indigenous prairie plants to shine in September. All the prairie grasses — including as Indian bud (Sorgastrum nutans), found growing here with Maximilian sunflower (Helianthus maximiliani) — turn vibrant colours.

Barbara Pintozzi

In a September shade garden, Japanese anemones (here Anemone ‘Andrea Atkinson’) are queen, reaching 5 feet at a year with great moisture.

Barbara Pintozzi

Few things beat the strong, sweet scent of this fall-blooming Cimicifugas (Actea simplex ‘Black Negligee’). A fantastic stand of them perfumes the whole backyard.

Get out in the backyard while the weather’s great. Most of us know it is not likely to last.

See related

Weeds the Way

The past warm weeks of summer and the first days of autumn are perfect times to get a jump start on pest and weed management for next spring’s blossoms. Smothering and solarization are two ways you can use to prepare backyard spaces — both large and small — if time is not a variable. Both methods use simple, cheap and chemical-free methods that result in healthy and nutrient-rich soil for planting.

Jocelyn H. Chilvers

Smothering is an exaggerated form of mulching. A thick coating of paper or cardboard, topped by several inches of organic matter, deprives existing weedy plants of light, thus inhibiting their development. By utilizing organic substances that decompose quickly, you also get the benefit of composting. Plant directly to the darkened area once the current weeds are conquered.

How to smother weeds:
Mow or chop the existing vegetation from the area selected for future planting.Spread a layer of paper (exclude coloured pages), newsprint or brown kraft paper (eight to 12 sheets thick), or three to four layers of cardboard. Be sure to overlap paper edges so there are no gaps.Saturate with water.Cover the whole paper area using a 4-inch-layer of natural material — Engineered wood fiber, wood chips, pine needles, cocoa hulls, etc.. Alternatively, an 8-inch-layer of lighter stuff, such as dried leaves, grass clippings, or weed-free straw, may be used.Let the area remaining autumn and winter.This technique functions for regions both large and small, at the sun or in the shade. It’s not a cure for noxious, perennial weeds that have aggressive root systems, but it is fairly prosperous means to get rid of yearly and biennial weeds as well as several grasses.

research.pomona.edu

Solarization uses radiation from the sun plus moisture to warm soil to 99 to 125 degrees Fahrenheit. This treatment not only kills weeds and weed seeds, but in addition soilborne pathogens such as fungi, parasitic nematodes, insects and a few bacteria. Soil solarization also speeds up the breakdown of organic matter in the soil, resulting in more available nitrogen, calcium, magnesium and potassium. It’s a easy, chemical-free way to revitalize an older planting bed or prepare a new one.

How to solarize weeds:
Rototill or spade existing plant material and extra organic matter (chicken manure, grass clippings, etc.) to the soil. Decomposing organic matter contributes additional heat to the process and can also protect soil microbes. Rake the soil smooth and lump free — the aim is a clean, horizontal surface.Wet the soil to a depth of 12 inches (the moisture is crucial to conduct heat through the soil). Keep the soil moist throughout the solarization period.

Jocelyn H. Chilvers

Cover the soil surface with clear (preferably UV-stabilized) vinyl, 1.5 to 3 millimeters thick. The plastic has to be held closely against the ground surface; secure the edges by burying them to 6 inches into the ground. Note: Thinner plastic is less costly and may be utilised in a double coating, but is more prone to animal or wind damage. In cooler climates, using black vinyl for a longer period of time may be as effective as clear plastic.

Four to six weeks of solarization during the long, hot days of summer are enough to kill most weed seeds and soil pests. In the cooler days of autumn and spring, six to eight weeks may be critical.

Jean Marsh Design

Solarization is particularly effective for controlling annual weeds and pests in gardens with loads of sunlight and available moisture. It can be utilised in raised gardens as well as regions slated for new yards. More detailed research information and technical information on solarization can be found here and also here.

More:
5 Ways to Naturally Win the Weed War
5 Weed-Smothering Ground Covers

See related

How to Begin a Cool-Season Vegetable Garden

In late summer, you may believe your vegetable garden is on its way outside. But if you live in a mild-winter climate, then the cool-season garden may actually span the second half of the gardening season, producing fresh veggies even in winter.

A cool-season vegetable garden is full of plants that prefer the warmer temperatures and soils of both autumn and spring. Some even do their best with a bit of frost. For many individuals, cool-season veggies would be those you plant since summer winds down or early in the season, when you simply can’t wait to return to the backyard.

Wondering what vegetables you can plant in late summer and late winter for harvests in spring and autumn? There are far more options than you may think.

The Brickman Group, Ltd..

Popular crops to plant in late summer and late winter: beets, broccoli, cabbage, carrots, chard, kale, lettuces, leeks, peas, radishes and lettuce.

For the connoisseur: arugula, Brussels sprouts, cauliflower, celery, Chinese cabbage, collards, endive, fennel, onions, garlic, parsnips, salad greens and turnips.

Surprising cool-season crops: including cherry, potatoes and rhubarb. Yes, they are often thought of and grown in the summer, however they prefer the warmer temperatures of spring and autumn.

See how to increase each cool-season harvest

Natalie DeNormandie

Check for frost dates. While cool-season crops can even handle a few frost, you’ll need to focus on air and soil temperatures to get the most out of your backyard. This implies planting early enough in autumn to permit crops to reach maturity until hard frosts hit or daytime temperature drops too low (typically below about 55° Fahrenheit). In spring, you’ll need to take the reverse strategy, waiting to plant until the air and soil temperatures are warm enough for the plants to flourish.

Consider a cold stage. Cold frames and cloches allow you to set out vegetable seedlings earlier in the season and keep crops producing later in this season. They are available commercially, but it is also possible to make your own. Hinge the top of a cold frame to permit ventilation. If you wish to plant directly in the backyard, simply set the cold frame in place and remove the lid once the air temps warms up, replacing it as things cool down.

See how to extend your growing season with a cold frame

Carolina Katz + Paula Nuñez

Go green. Lettuces and other greens will go to seed and become bitter in summer, but plant them during the spring and early autumn and you can enjoy fresh-from-the-garden goodness for sandwiches and salads for weeks.

How to grow lettuce

Robin Amorello, CKD CAPS – Atmoscaper Design

Go for the cold. Some cool-season veggies can even cross the line and endure since cold-season vegetables. Kale specifically can endure until the temperature reaches the freezing point and may even survive through snow.

Robin Amorello, CKD CAPS – Atmoscaper Design

Move underground. Start rapidly maturing root crops, like carrots and beets, early in the season of course, but also plant them in the end of summer to keep them moving well into the autumn. Both may be overwhelmingly effective if you’ve got one big harvest, so only plan to keep sowing small rows or stains successively. This way you’ll always have something ready to go but will not be staring in a sea of greenery and wondering if Peter Rabbit is available for a few selective garden pruning.

Jocelyn H. Chilvers

Go for the crunch. There’s a motive broccoli is a autumn and winter favorite from the shops; it may manage the warmer temperatures. Any member of the cabbage family is a fantastic selection for the backyard when temperatures drop.

Robin Amorello, CKD CAPS – Atmoscaper Design

Move up. Tender peas have long been regarded as a harbinger of spring. Start them you may use the same supports afterwards in the summer to support beans, then get one final harvest of legumes in during the autumn.

How to start your garden from seeds

Samuel H. Williamson Associates

Give back to your garden. Fill in the empty spots in your landscape with a cover crop. Though you may end up with more fava beans than you understand what to do together, that is the idea. These crops are not grown for food; rather they are tilled or dug into the soil since alterations. There are a number of alternatives available. Legumes, as fava beans and clovers, help add nitrogen to the soil; grasses add organic matter. In this photo, clover is used to pay a hillside, but it would do the job just as well at a vegetable garden.

Next: How to Grow the Best Spring and Fall Veggies

See related

Copyright h o m e s t a y b e i j i n g 2 0 0 8 2024